
Frame.io cheat-sheet

Our easy peasy guide to Frame.io!
At draftpic, we use Frame.io to deliver our videos to our clients, get feedback and collaborate!
It’s an intuitive and simple piece of software, but for first-time users it can be a bit daunting. That’s why we’ve put together this cheat-sheet to explain how to use the key features you are most likely to use when we need your feedback on a video.
The best part is, you don’t need to download Frame.io to your desktop or mobile, once we’ve added you as a collaborator you’ll be able to see and comment on your videos!
Frame.io Video Tutorials
Frame.io have some fantastic videos on their YouTube to help you get started. These are the two we would recommend:
How to use Frame.io - Video Review and Collaboration
1. Commenting and Annotations
This is the main feature you are going to use. It is as simple as pressing play on the video and then typing in a comment as soon as you see something you want changed. You can leave notes as well as drawings on the video frame! Here are the steps:
Step 1: Open the video project within Frame.io.
Step 2: Click your cursor in the comment box located at the bottom centre of the screen.

Step 3: Once you start typing a box will appear that says ‘Want to leave a comment?’.
Step 4: Enter your email address and then your name. You are now added as a reviewer!


Step 5: Now you can make comments! Simply press play on the video and place your cursor in the comment box. Once you see something you’d like changed, start typing. The video will automatically pause as you type and then resume as soon as you click enter.

Step 6: You will now be able to see your comments appear on the right hand side of your screen. Clicking a comment on the right will take you to the exact frame where the comment was left.

Step 7: Beneath the comment box you will see a paintbrush tool.

Step 8: Click on the paintbrush, select a colour and then use the paintbrush tool to highlight features on the video frame by holding down the mouse and dragging your cursor across the screen. Undo your paint work by click the backwards arrow located in the tool bar. To delete the paint work entirely click the paintbrush with the ‘x’ next to it.

2. Version Comparison
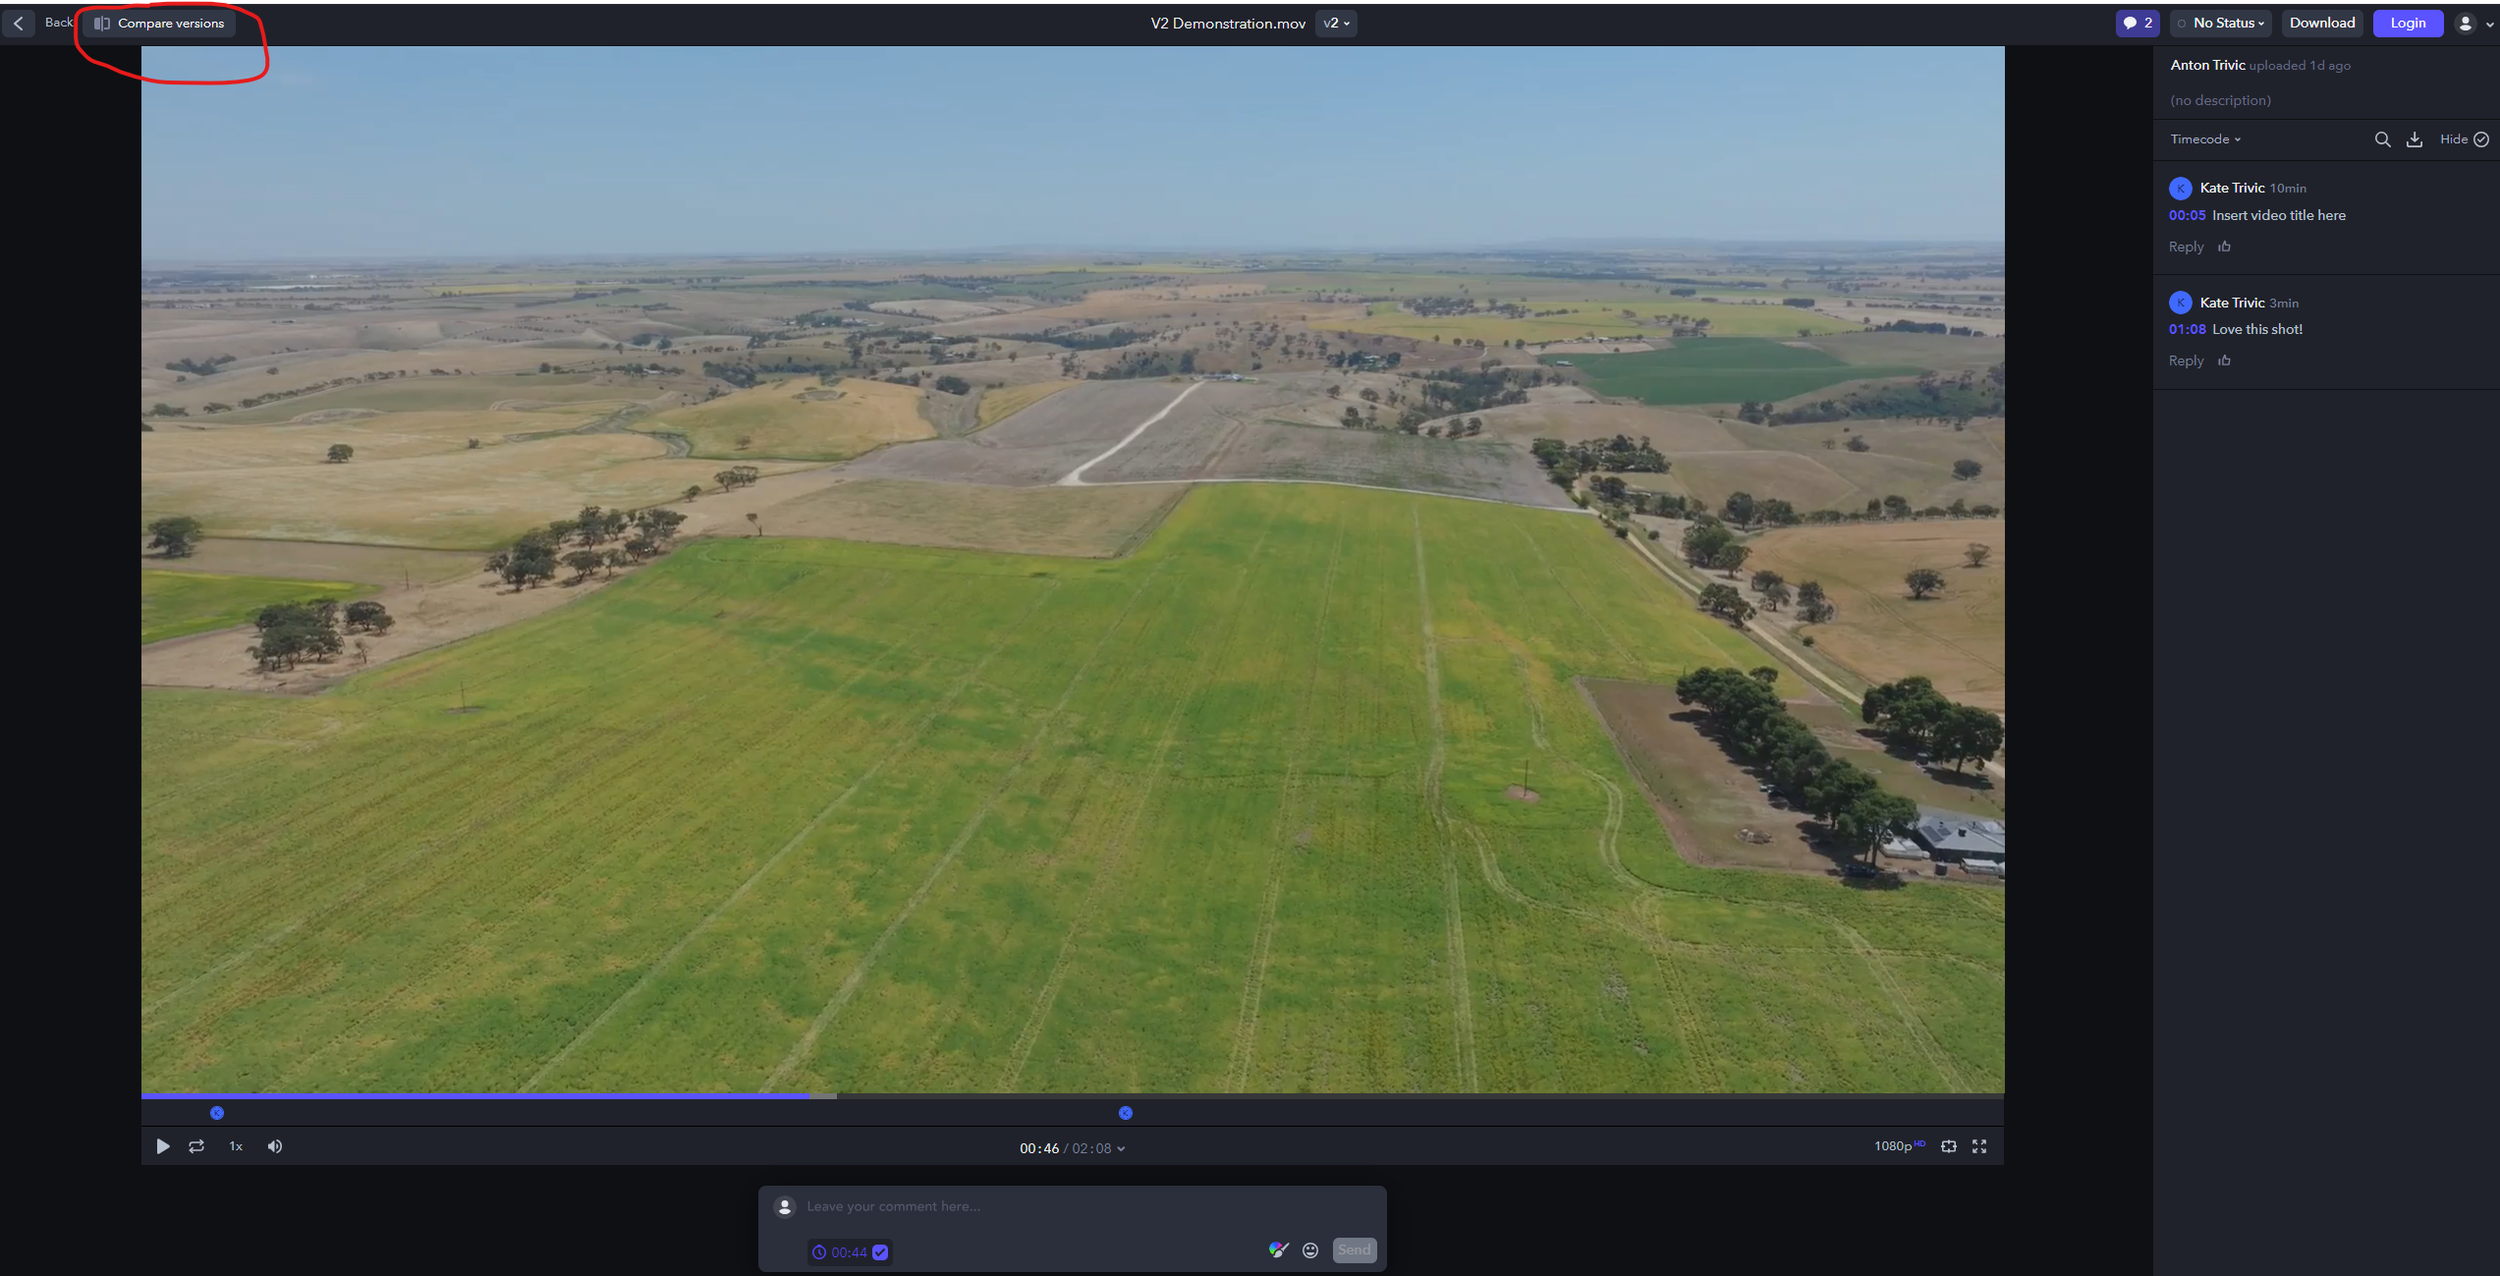
To keep things tidy, each time a new version of your video is uploaded it will sit within the same video icon and you will see a ‘v2’ appear at the top of your video.
This allows you to preserve the comments and collaboration of past uploads and also means you can view the changes between the first and second versions and keep a record of your progress.
Step 1: Locate the "Versions" section within the project by clicking the v2 button at the top of the screen, a drop down menu will appear.
Step 2: Switch between different versions to compare changes between videos.
Step 3: Take note of the progress and differences between versions for your feedback.

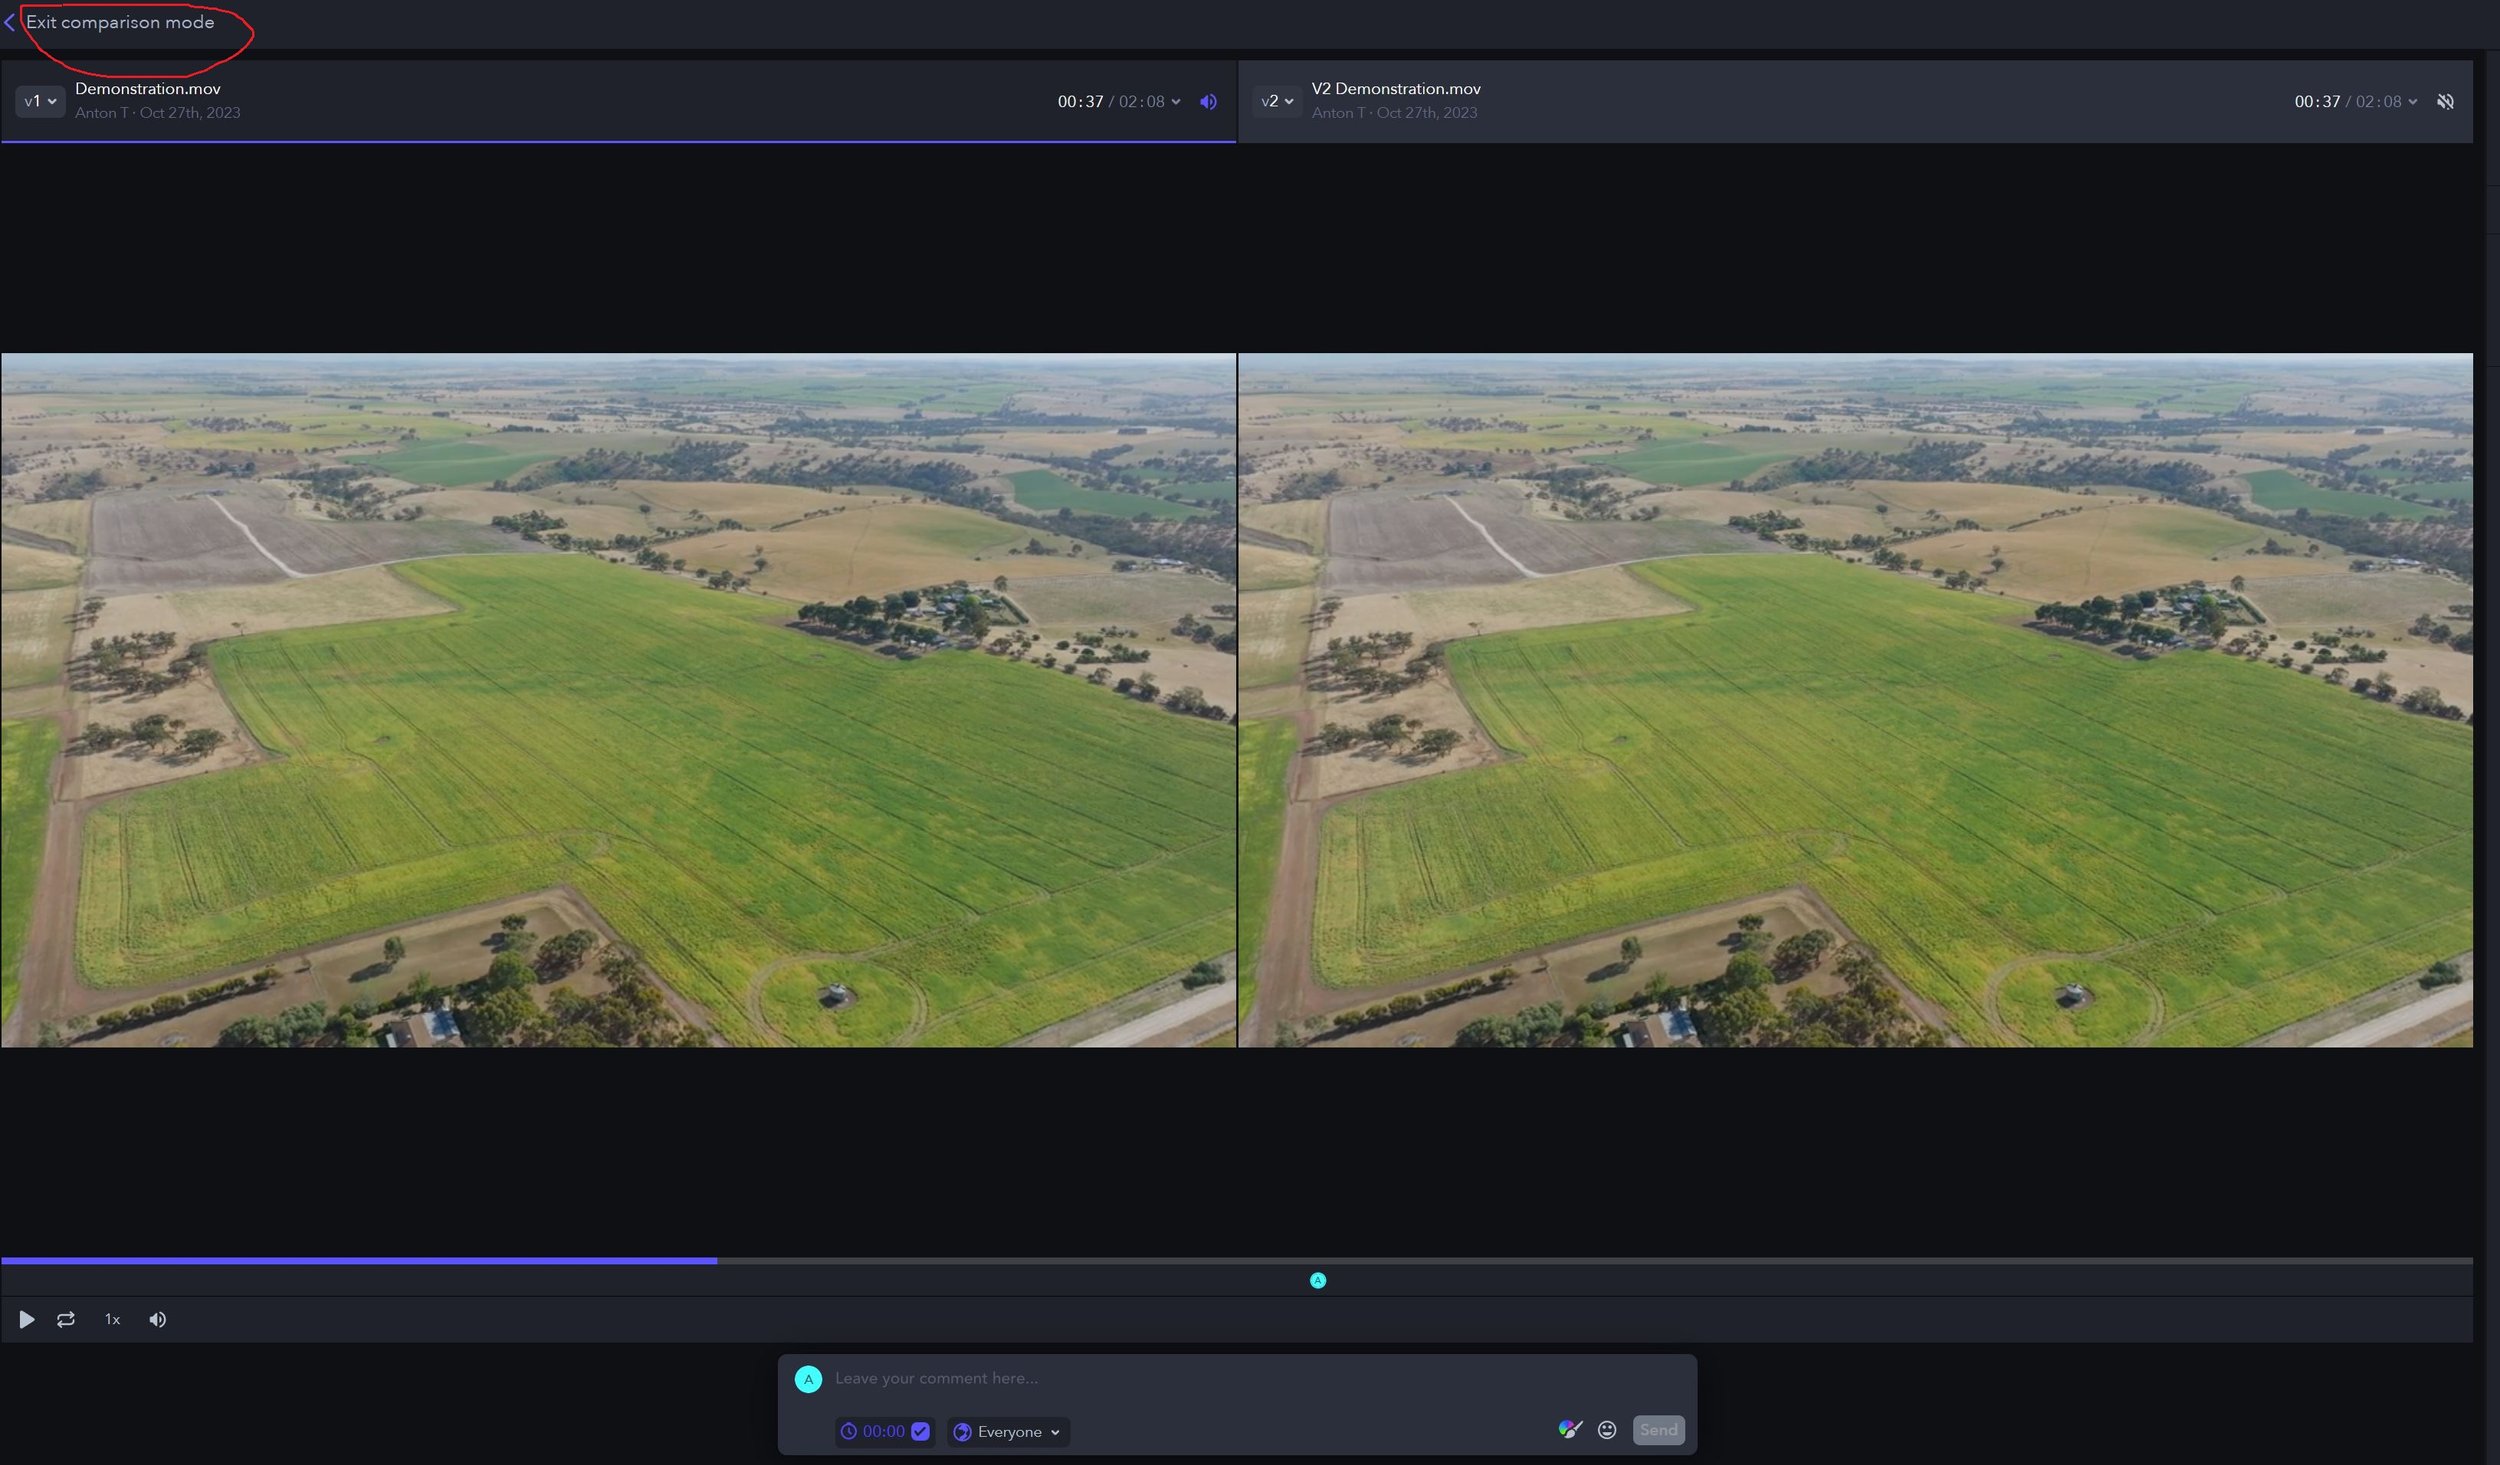
Step 4: Click ‘compare versions’ in the top left hand corner to compare versions side by side.
Step 5: Click ‘exit comparison mode’ in the top left hand corner when you are done.
3. Loop Feature
This is a handy feature if you want to see the video over and over again, or just one section.
Step 1: Click the loop button located next to the play button to automatically play the entire video over and over again
Step 2: Hold down the ‘R’ key while the video is playing to start highlighting a section of the video you would like to replay, let go of the ‘R’ key when you’ve finished your selection and the video will loop just this range. Click ‘ESC’ to remove the loop.

4. Status
Step 1: Once you are happy with the video, it’s time to update the status! Click the ‘no status’ button in the top right hand corner.

Step 2: You will then get the message ‘Want to set a status label?”. Enter your email and then click continue.

Step 3: Click ‘No Status’ again. You will now be able to see a drop down menu. Click ‘Approved’ and your done!

5. Download
Now that you’re happy with the video and you’ve updated the status to ‘Approved’, you can download your video!
Step 1: Download your video by simply clicking the download button in the top right hand corner next to the status bar. The download will automatically start on your computer.

Thank you for reading our handy Frame.io cheat sheet.
We hope you are well on your way now to collaborating on your video project with ease!